
Best GoPro Settings for FPV How to Get Good HD Footage
Most FPV pilots have an HD camera paired with the standard analog FPV camera. Some systems like the DJI FPV system have onboard HD recording which is nice to look at but doesn’t come close to GoPro footage in terms of quality.
With the rise of cinematic fpv drones, some pilots even do FPV for a living, filming commercials, music videos and movies, it’s a great time to be an FPV pilot.
In this guide we will show and explain how to get professional grade footage out of your GoPro. How to set it up in terms of camera settings and some workflows to help you get the best possible footage your camera can provide.
GOPRO OPTIONS
GoPro Hero 6 Black
Budget Pick

Budget Pick
GoPro Hero 6 Black
Offers good quality footage but no built in stabilisation. It was the camera of choice for reelsteady stabilisation workflow (Hero 8 Black is better now). This camera is still one of the best options for the price, since its an older camera it goes by cheaper than other cameras, and has a clean gyro, making it the cheapest reelsteady camera out there.
GoPro Hero 7 Black
Great Action Cam
Great Action Cam
GoPro Hero 7 Black
Is the first camera that offers built in electronic stabilisation in form of HyperSmooth. Image quality is pretty much the same as the Hero 6. This is a great all around camera but reelstedyGo doesn’t support it.
GoPro Hero 8 Black
Our Pick
Our Pick
GoPro Hero 8 Black
Is has the same sensor as the Hero 7 Black but records video at a higher bit-rate, that means more information per frame making the footage better and sharper. The camera also has HyperSmooth 2.0 which is on par with ReelSteady.
GoPro Hero 5 Session
Our Pick
Our Pick
GoPro Hero 5 Session
The Session is the “Golden nugget” of FPV Freestyle, it is small, lightweight and can capture up to 4k. Most pilots prefer this camera for freestyle. It can be used for cinematic flying but make sure your drone is tuned since it doesn’t offer any stabilisation and reelSteady doesn’t work.
Obviously the best option is the Hero 8 Black but for the price you can’t go wrong with any of the cheaper models.
Some split style cameras are able to capture 4Kp@30fps but that can’t measure with GoPro footage quality and protune, but can be edited to look more professional.
In this guide we will strive for the best possible image quality from your GoPro.
For footage exposition hacks check the GoPro ND Filters Guide
RESOLUTION AND FRAME RATE
When choosing a resolution and frame rate you have a few different options. Usually you want to shoot at the highest resolution your camera can shoot at but for freestyle that is not the case.
2.7k is plenty for fast flipy flopy tricks since you won’t be able to see details while doing a lot of movement. Plus your hard disk will be full in no time.
When shooting cine shots you want to get that 4K crispy footage paired with an appropriate frame rate.
FOV
FOV° or Field Of View is a number in degrees that specifies the angle or how wide your image looks. Our FPV cameras usually are between 130°-180° while the GoPro from 90°-170°.
Superview is the Golden Standard in FPV since bigger FOV makes jitters and general movement look smoother but with cinewhoops we might want to choose a narrower FOV to get that cinema like look to our footage.
If we want to focus on the speed and movement of the shot we would use a wider FOV, on the other hand if we want to focus on a subject we would use a narrower FOV.
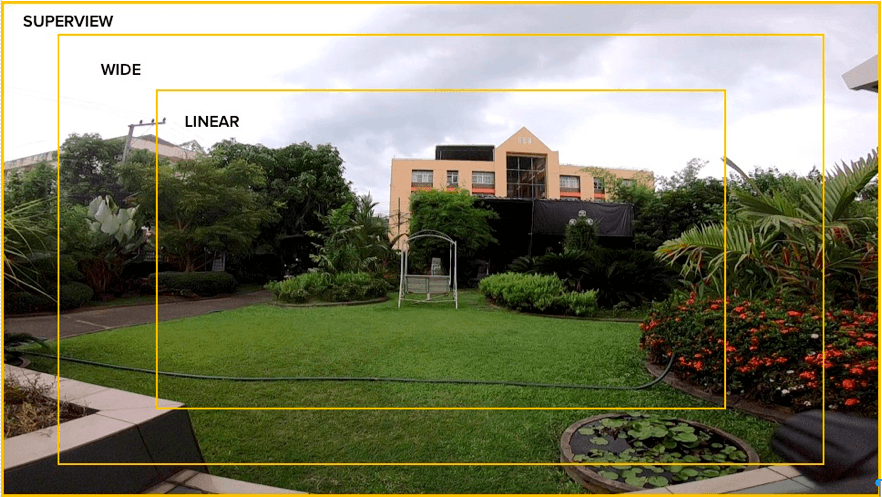
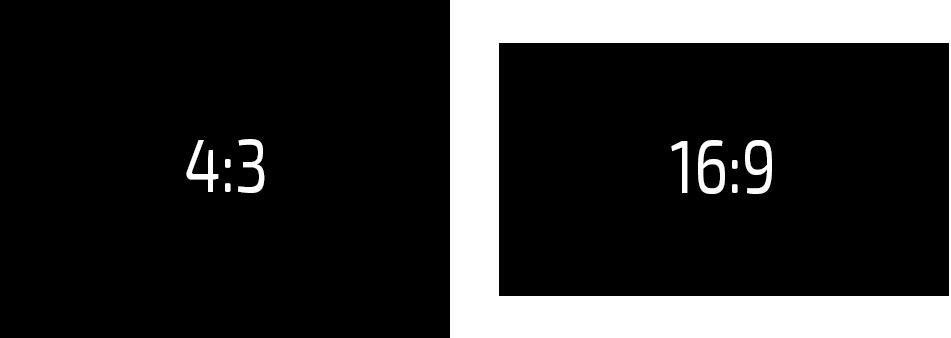
Aspect ratio
GoPros offer two aspect ratios, since the sensors are 4:3 that is the native aspect ratio of the sensor. GoPro has a feature called Superview which squashes down on the aspect ratio and makes it a 16:9 frame but with 4:3 information which gives that GoPro look we all know and love.
4:3 is a compelling choice since people and general proportions look more natural. We could also crop in the 4:3 image and reframe our shot.
GOPRO COLOR
GoPro has an GoPro Color option that saturates the image, some people like it, some don’t. For the most part it is recommended to use the flat color(unsaturated) profile if you plan to color grade the footage.
Recommended GoPro Hero 6/7/8 Black settings
Frame rate, shutter speed and ISO are parameters that you want to lock down in your protune settings to get good results. Your ISO should always be locked to as low as possible. High ISO numbers make your footage grainy and generally bad looking. Lock it to 100 and go from there, if you are using a GoPro with a screen you can just look at the image and check if its properly exposed. If you are using a Session you can use the App to set protune settings. If your image is overexposed or all blown out white, you need an ND filter.
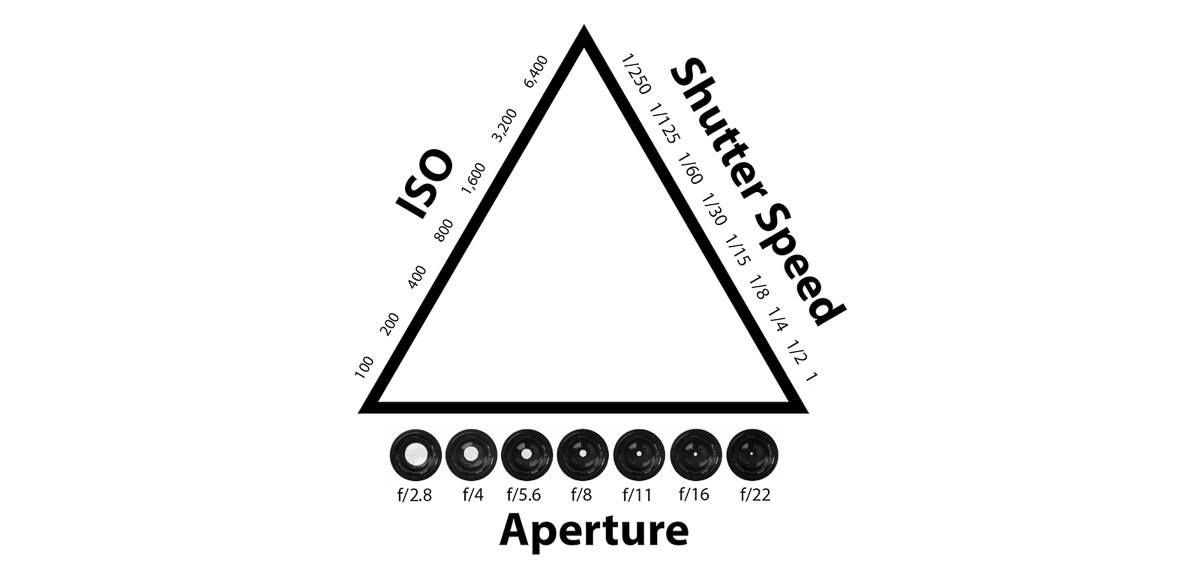
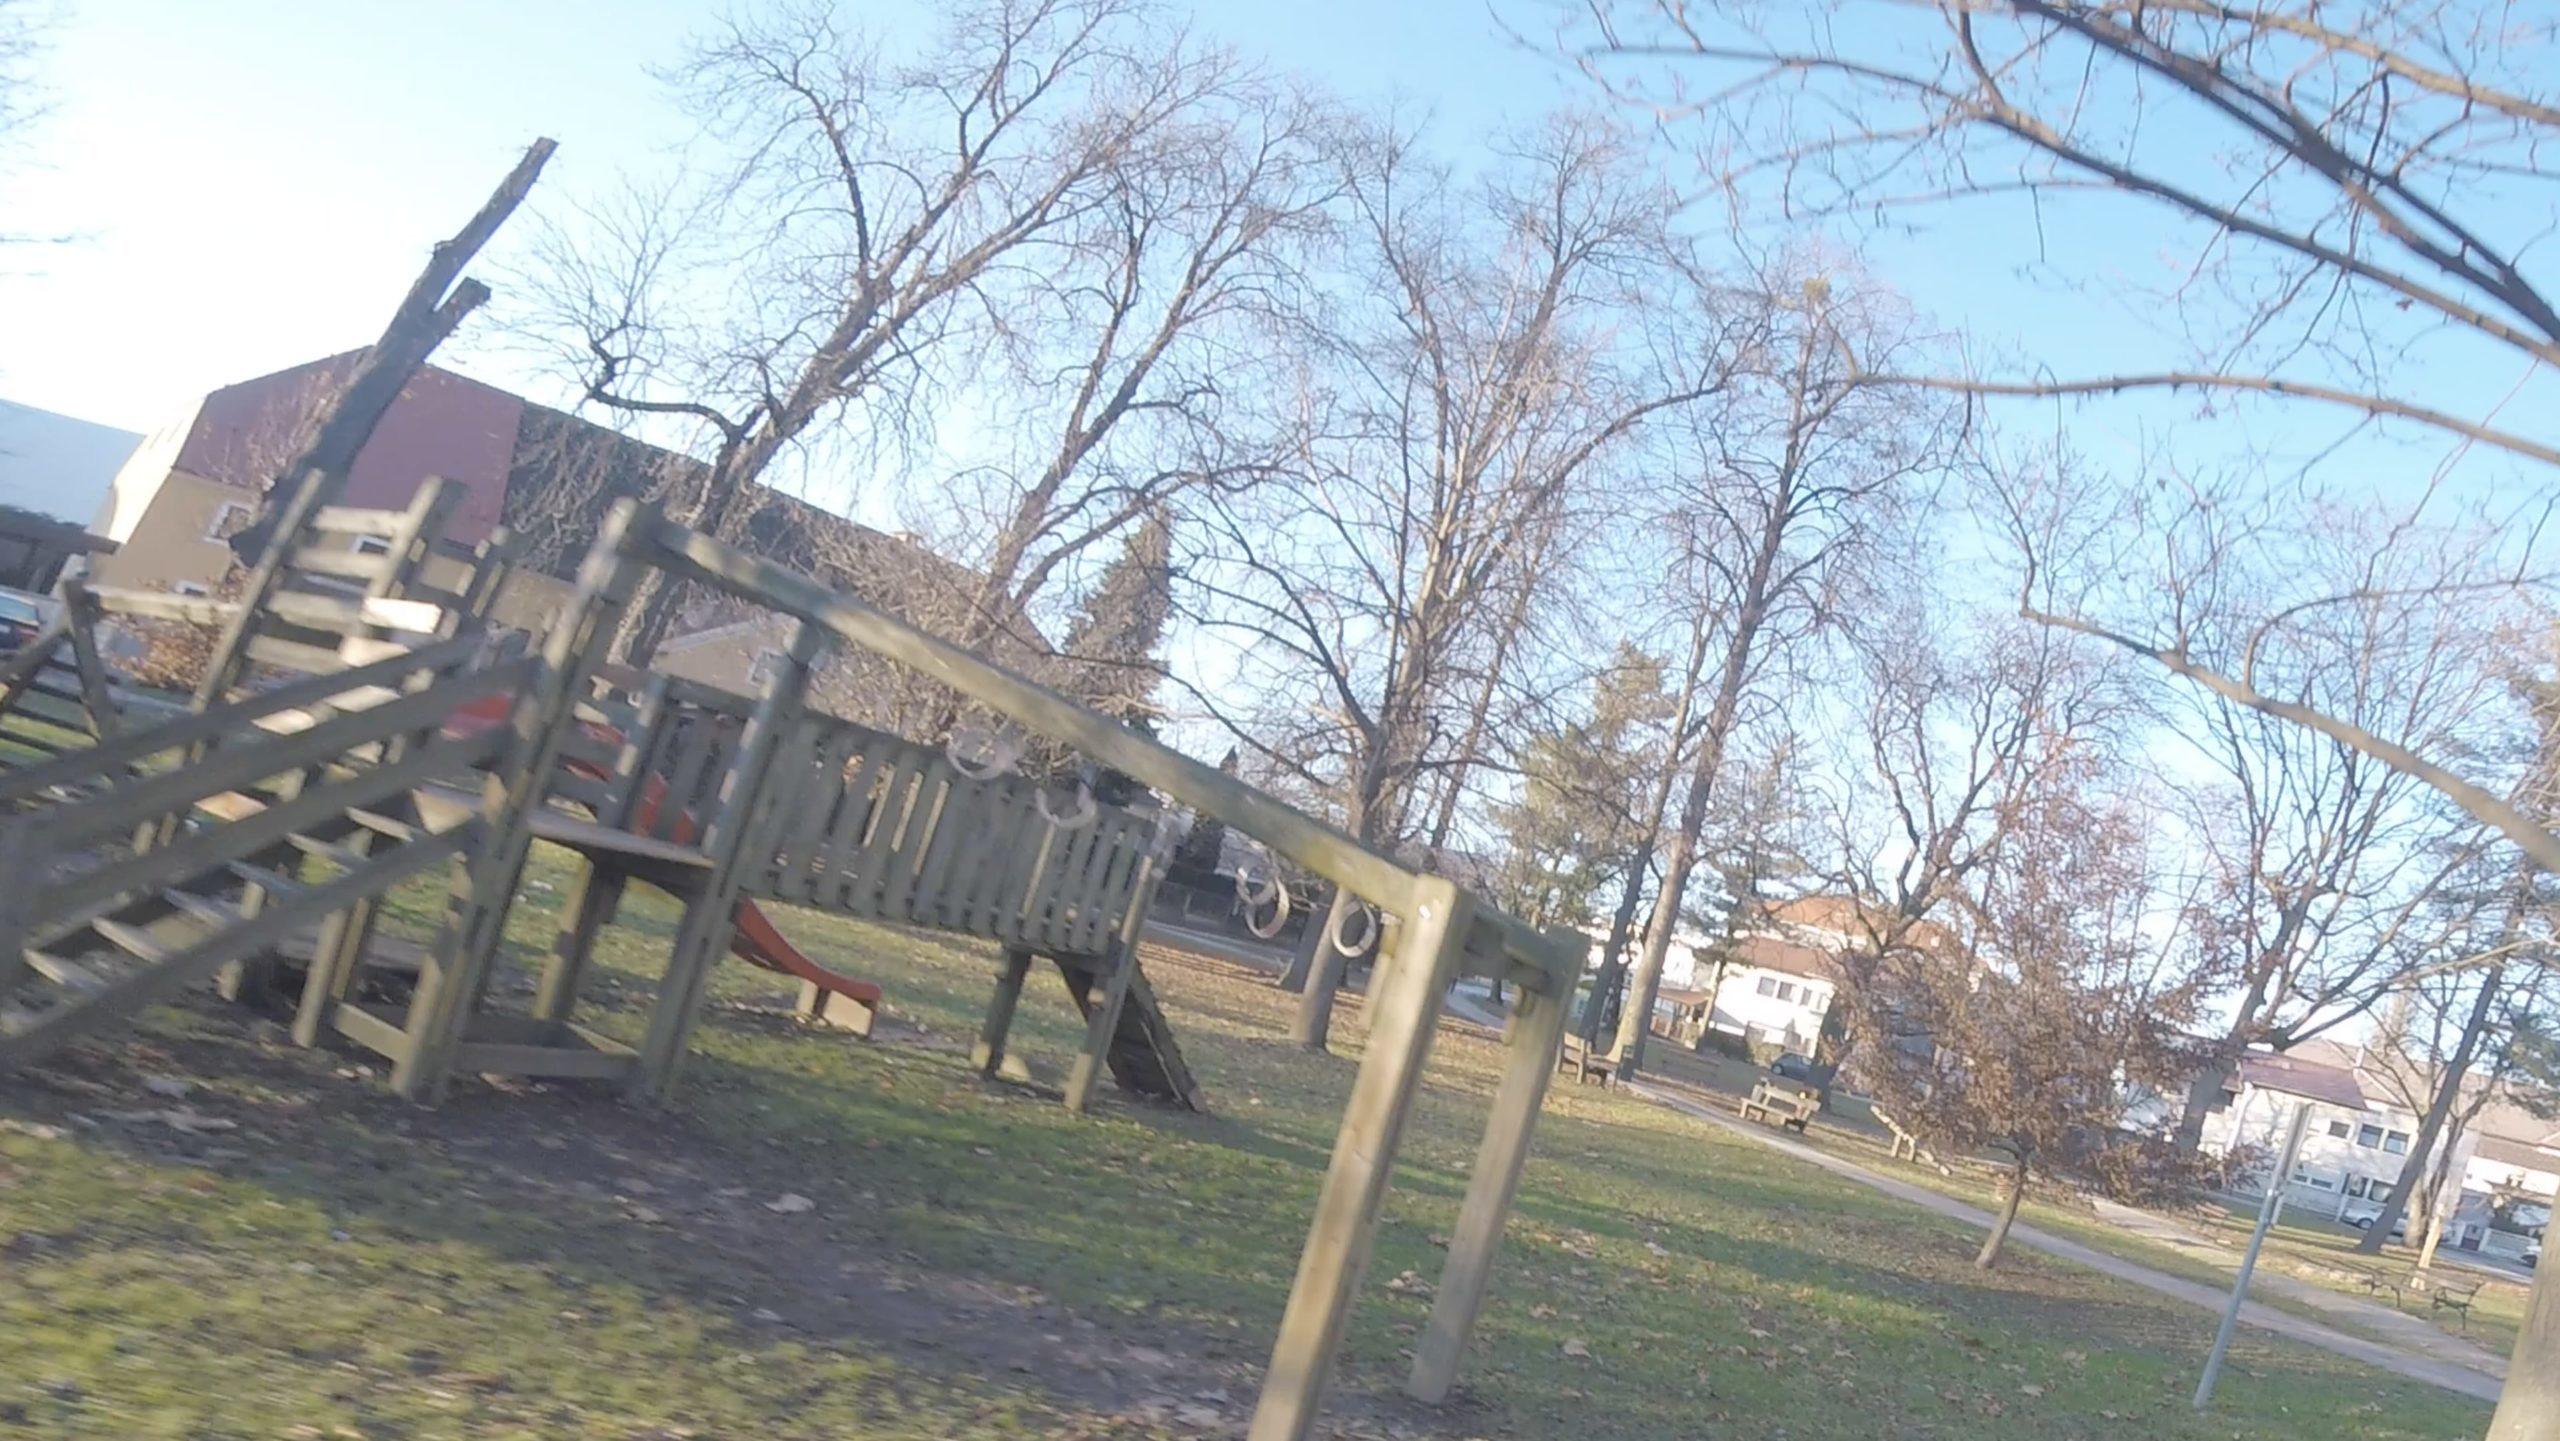
How to properly expose
Camera exposure is a term which describes how much light is gathered per frame. There are 3 parameters which determine how exposed your shot is: shutter speed, ISO and aperture. Since the aperture is fixed on a GoPro you can only play with ISO and shutter speed (in theory there is EV comp but we recommend you always leave it at 0).
To properly expose you will need to look at the screen on a Hero 6/7/8, with the Hero 5 Session you will need to connect your phone and check every time you go out and fly to make sure you are properly exposed. After a while you will get the hang of it and determine if you don’t have to change any settings just by looking outside.
See if the ground is detailed, if its over exposed use an ND filter, if its underexposed try to up the ISO a bit, but keep in mind its harder to fix underexposed footage since you cant add light. For overexposed situations use an ND filter. SEE ND FILTER GUIDE
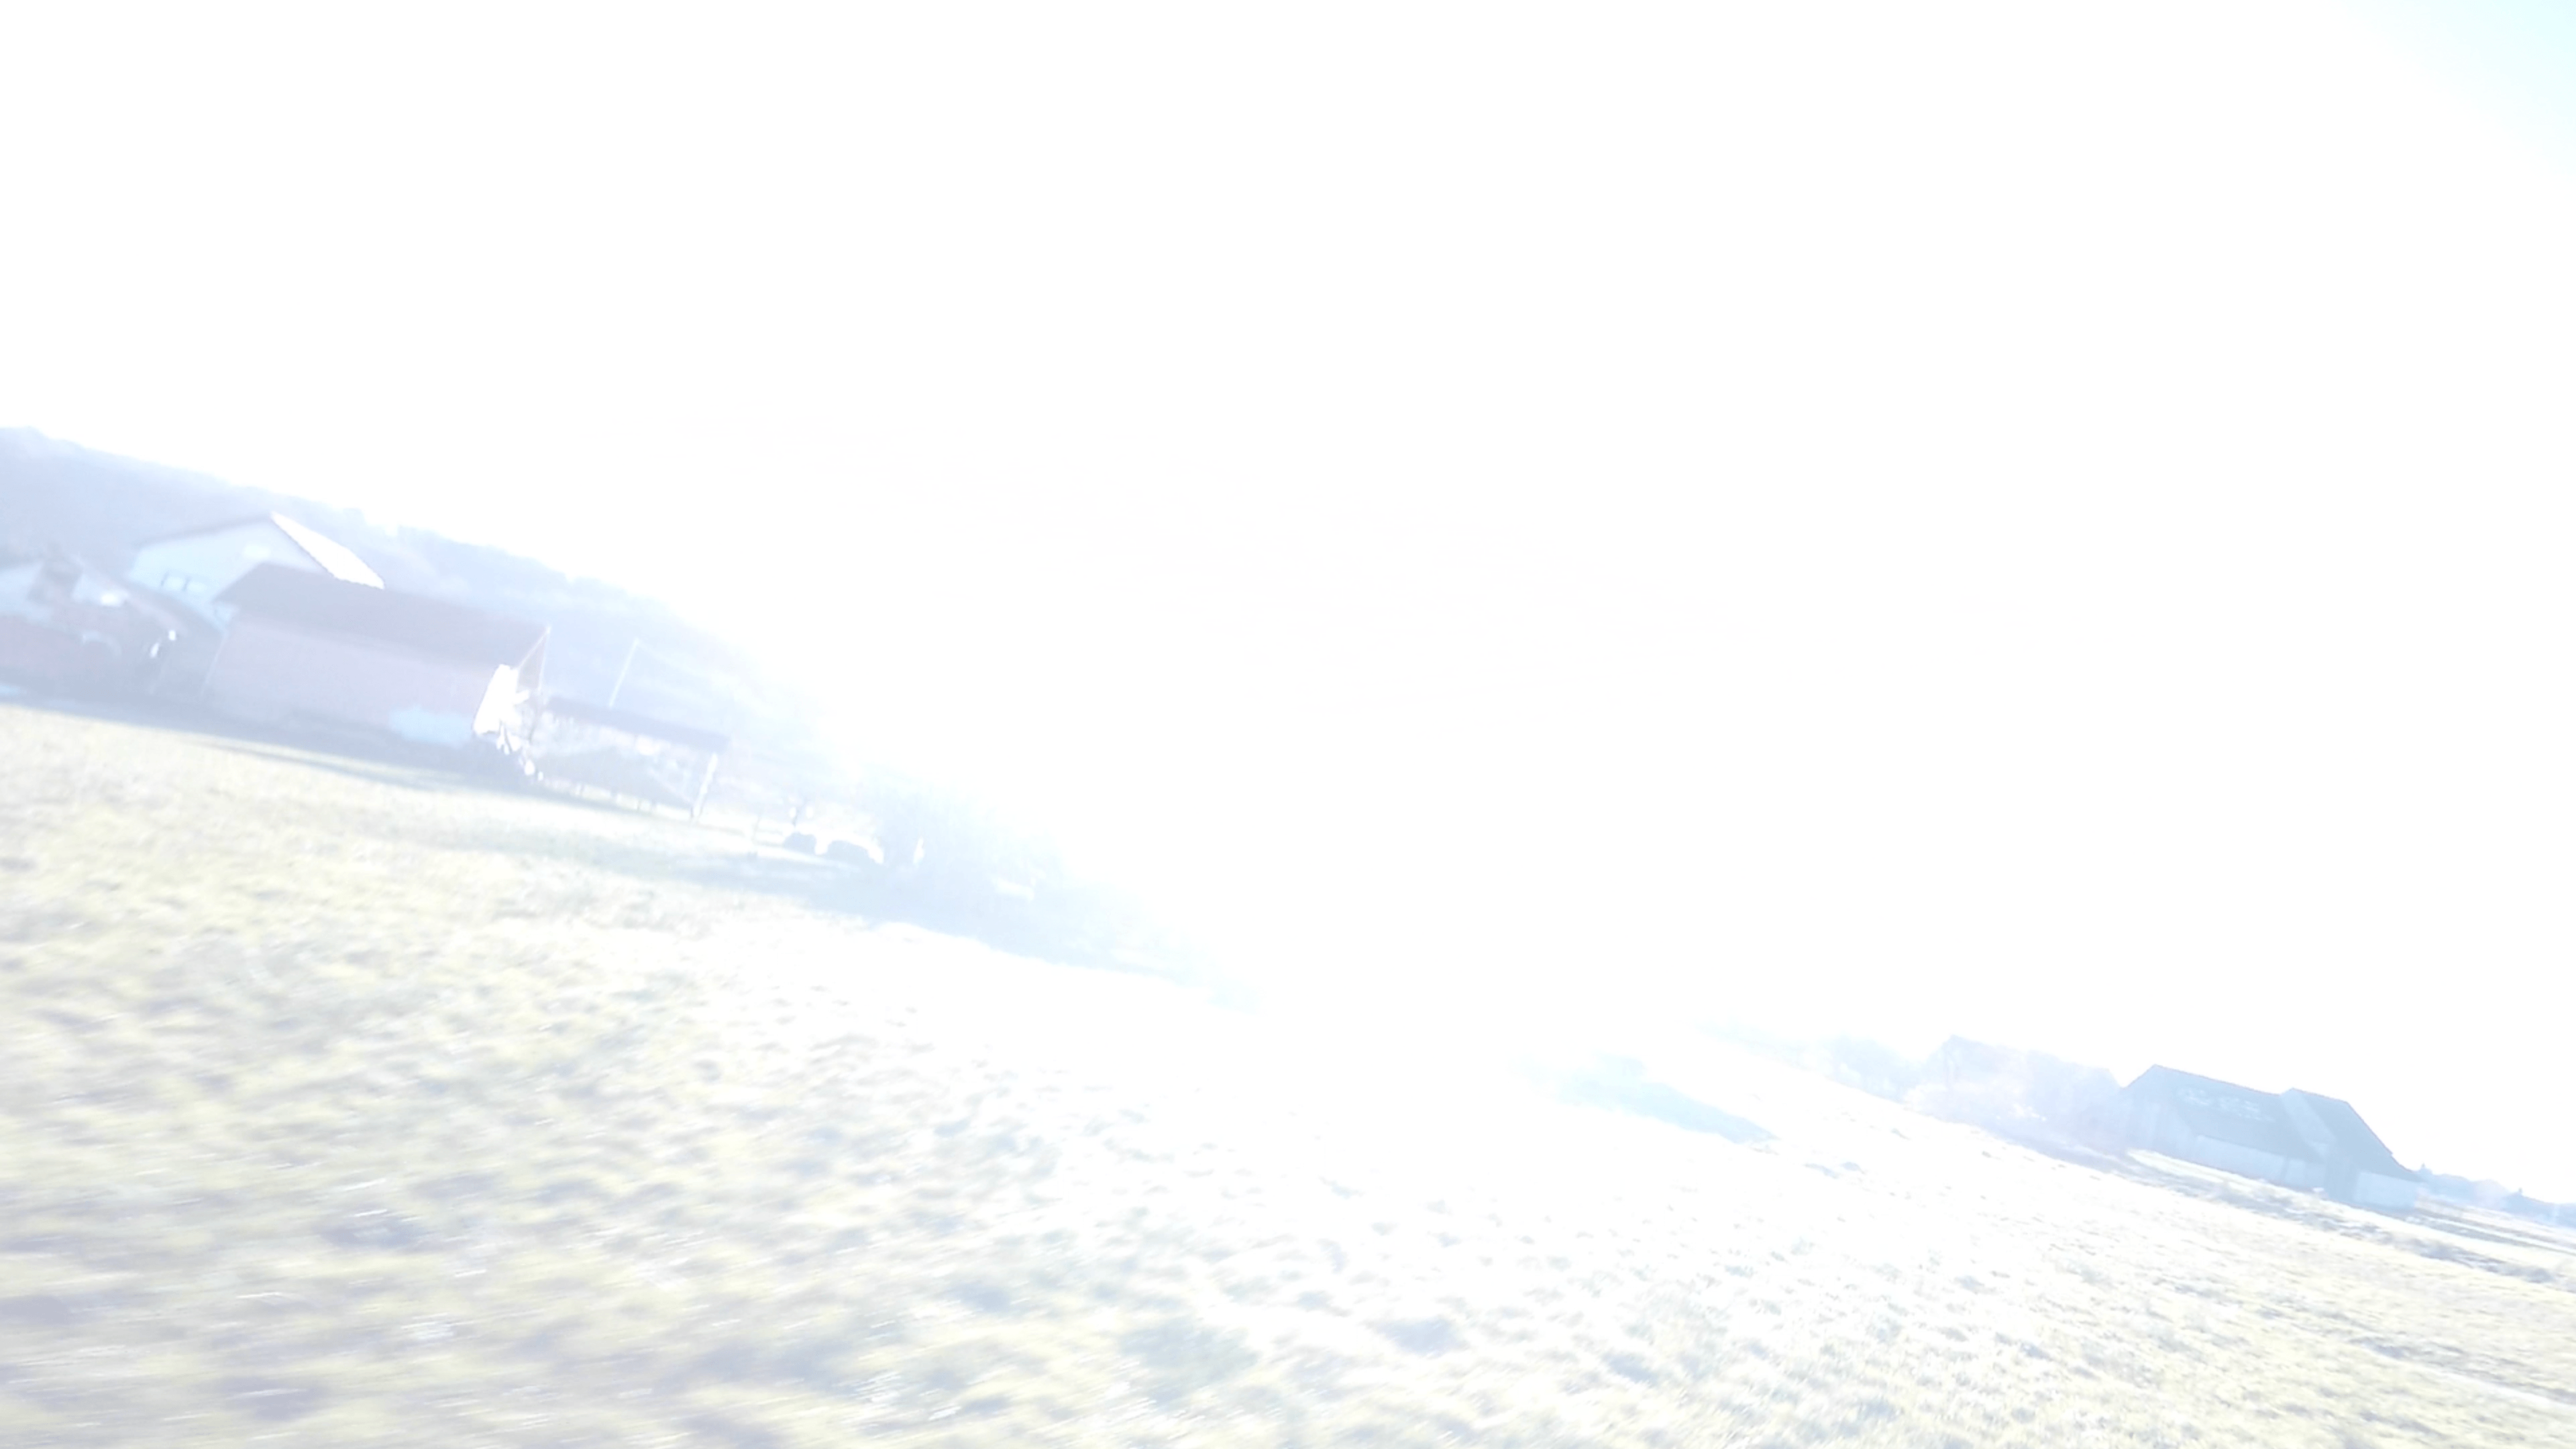
Over exposed
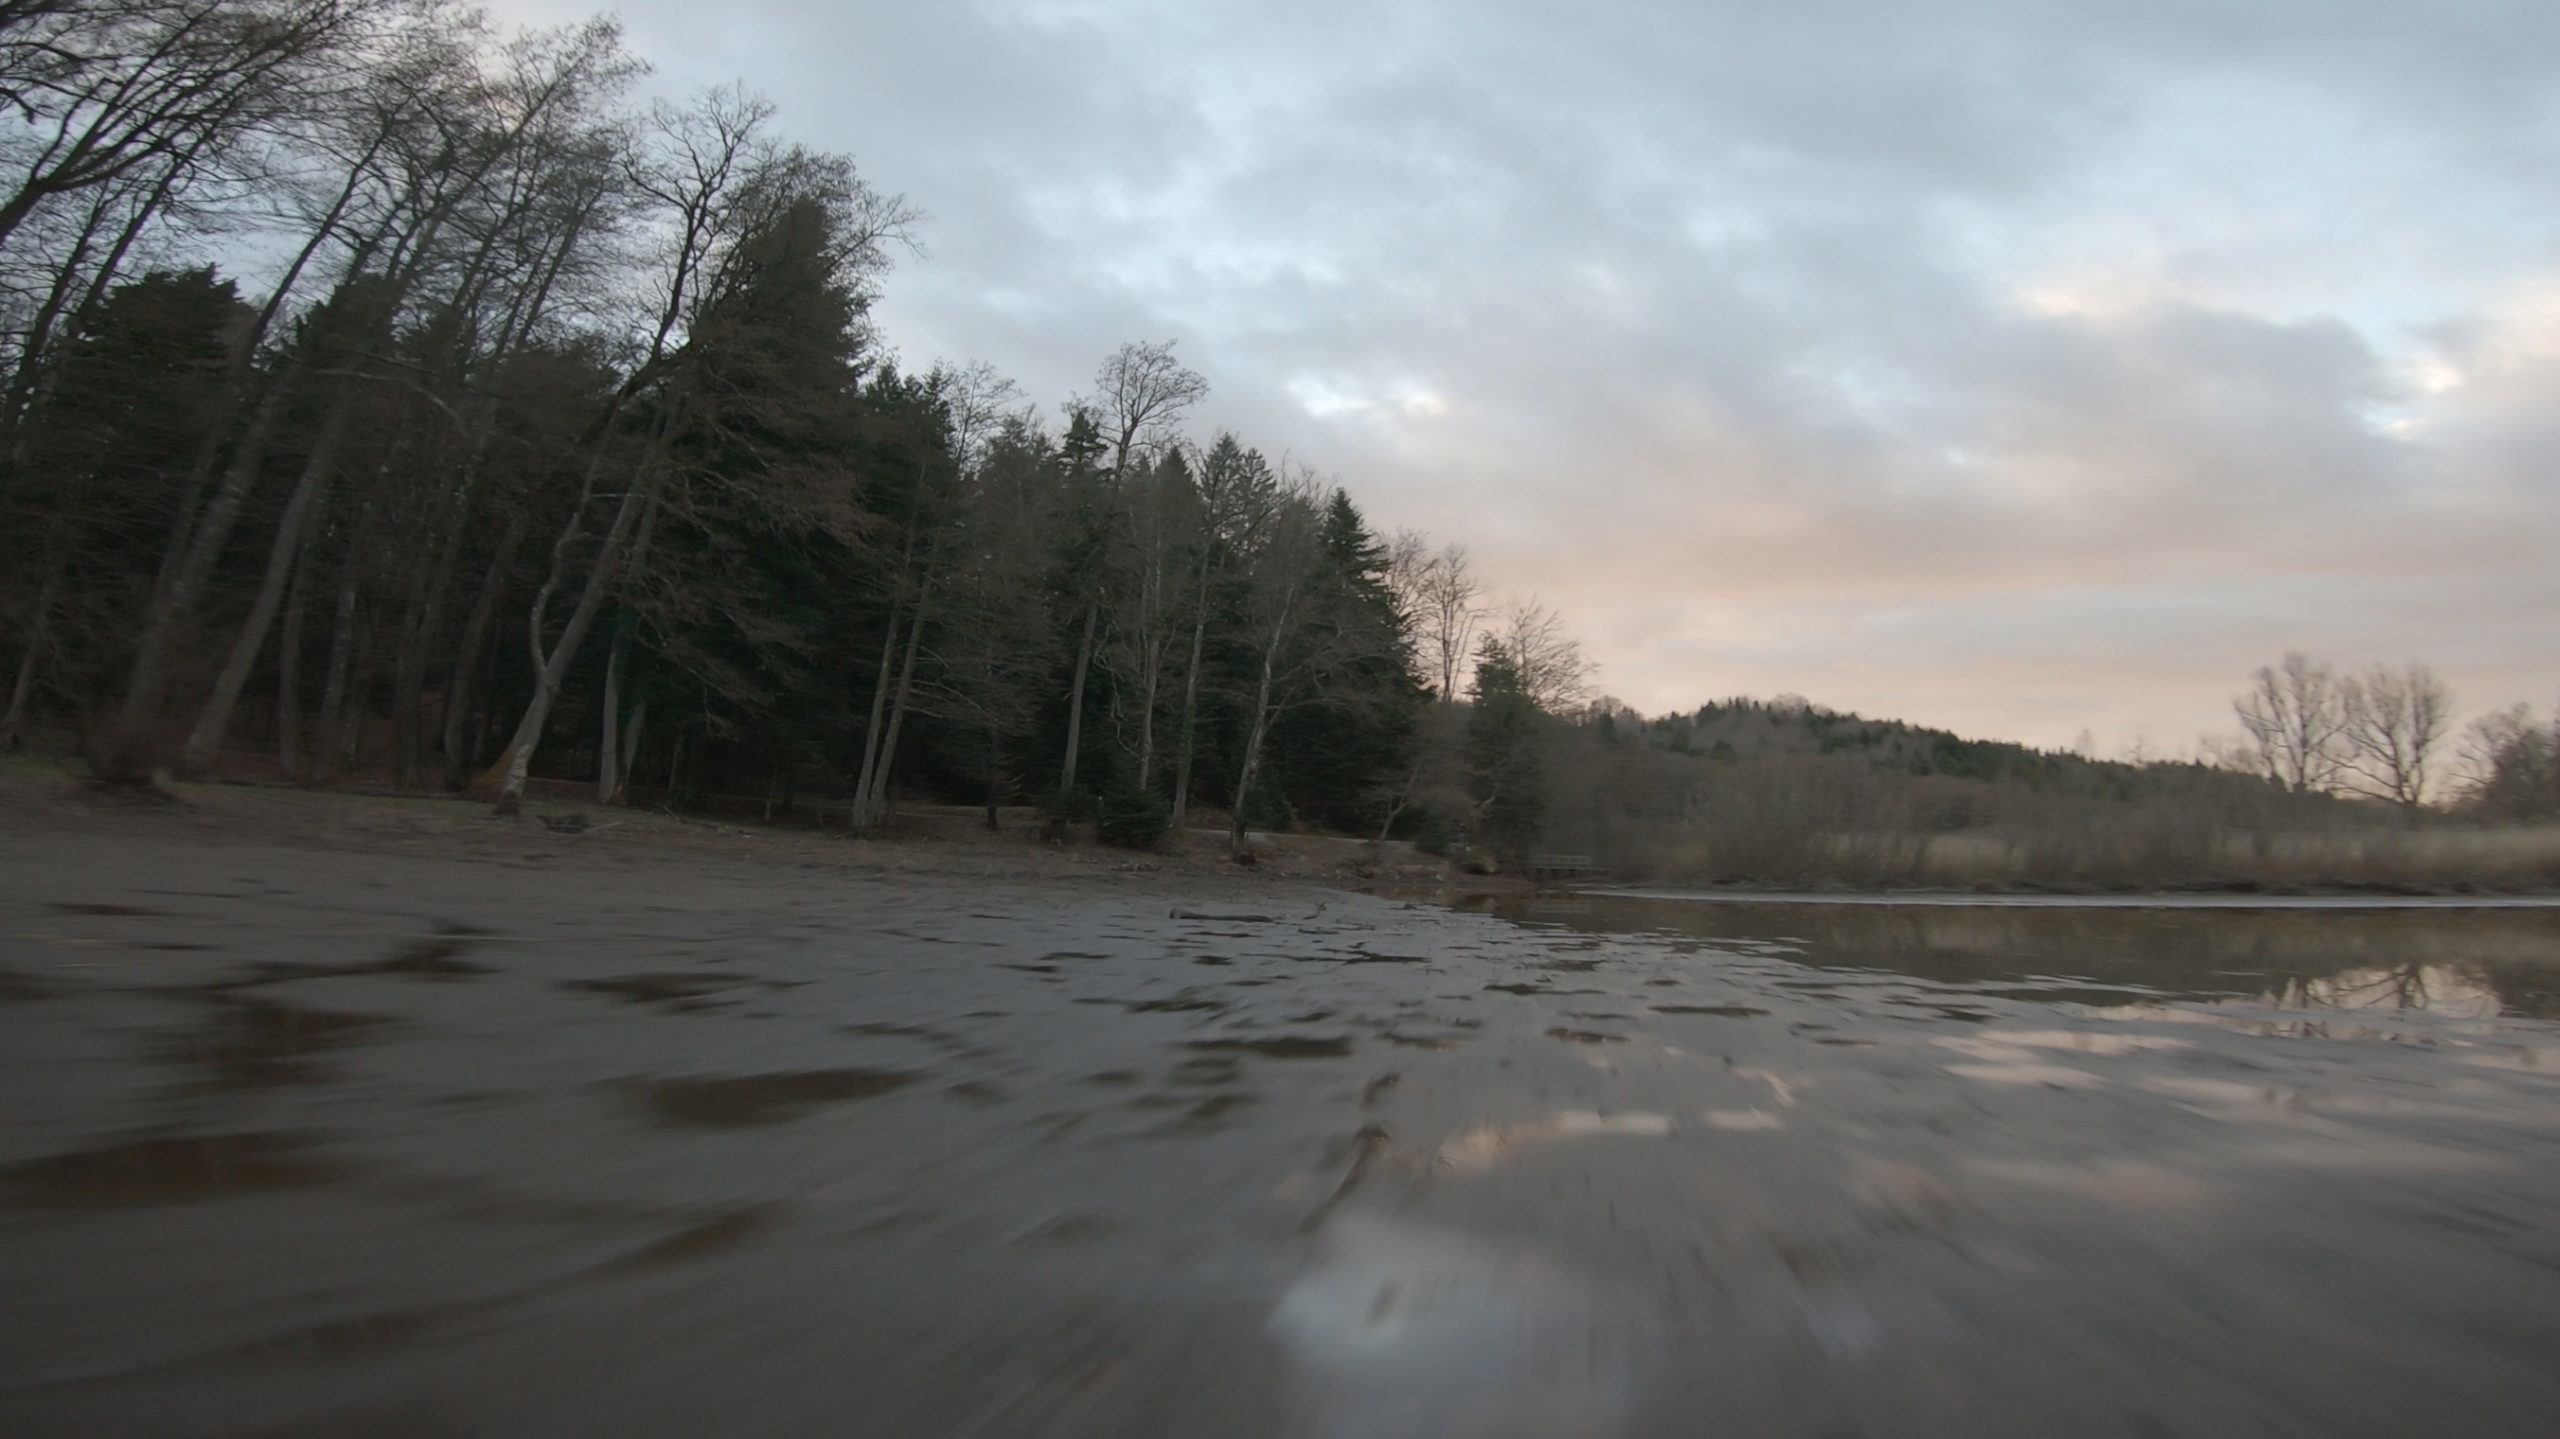
Well exposed
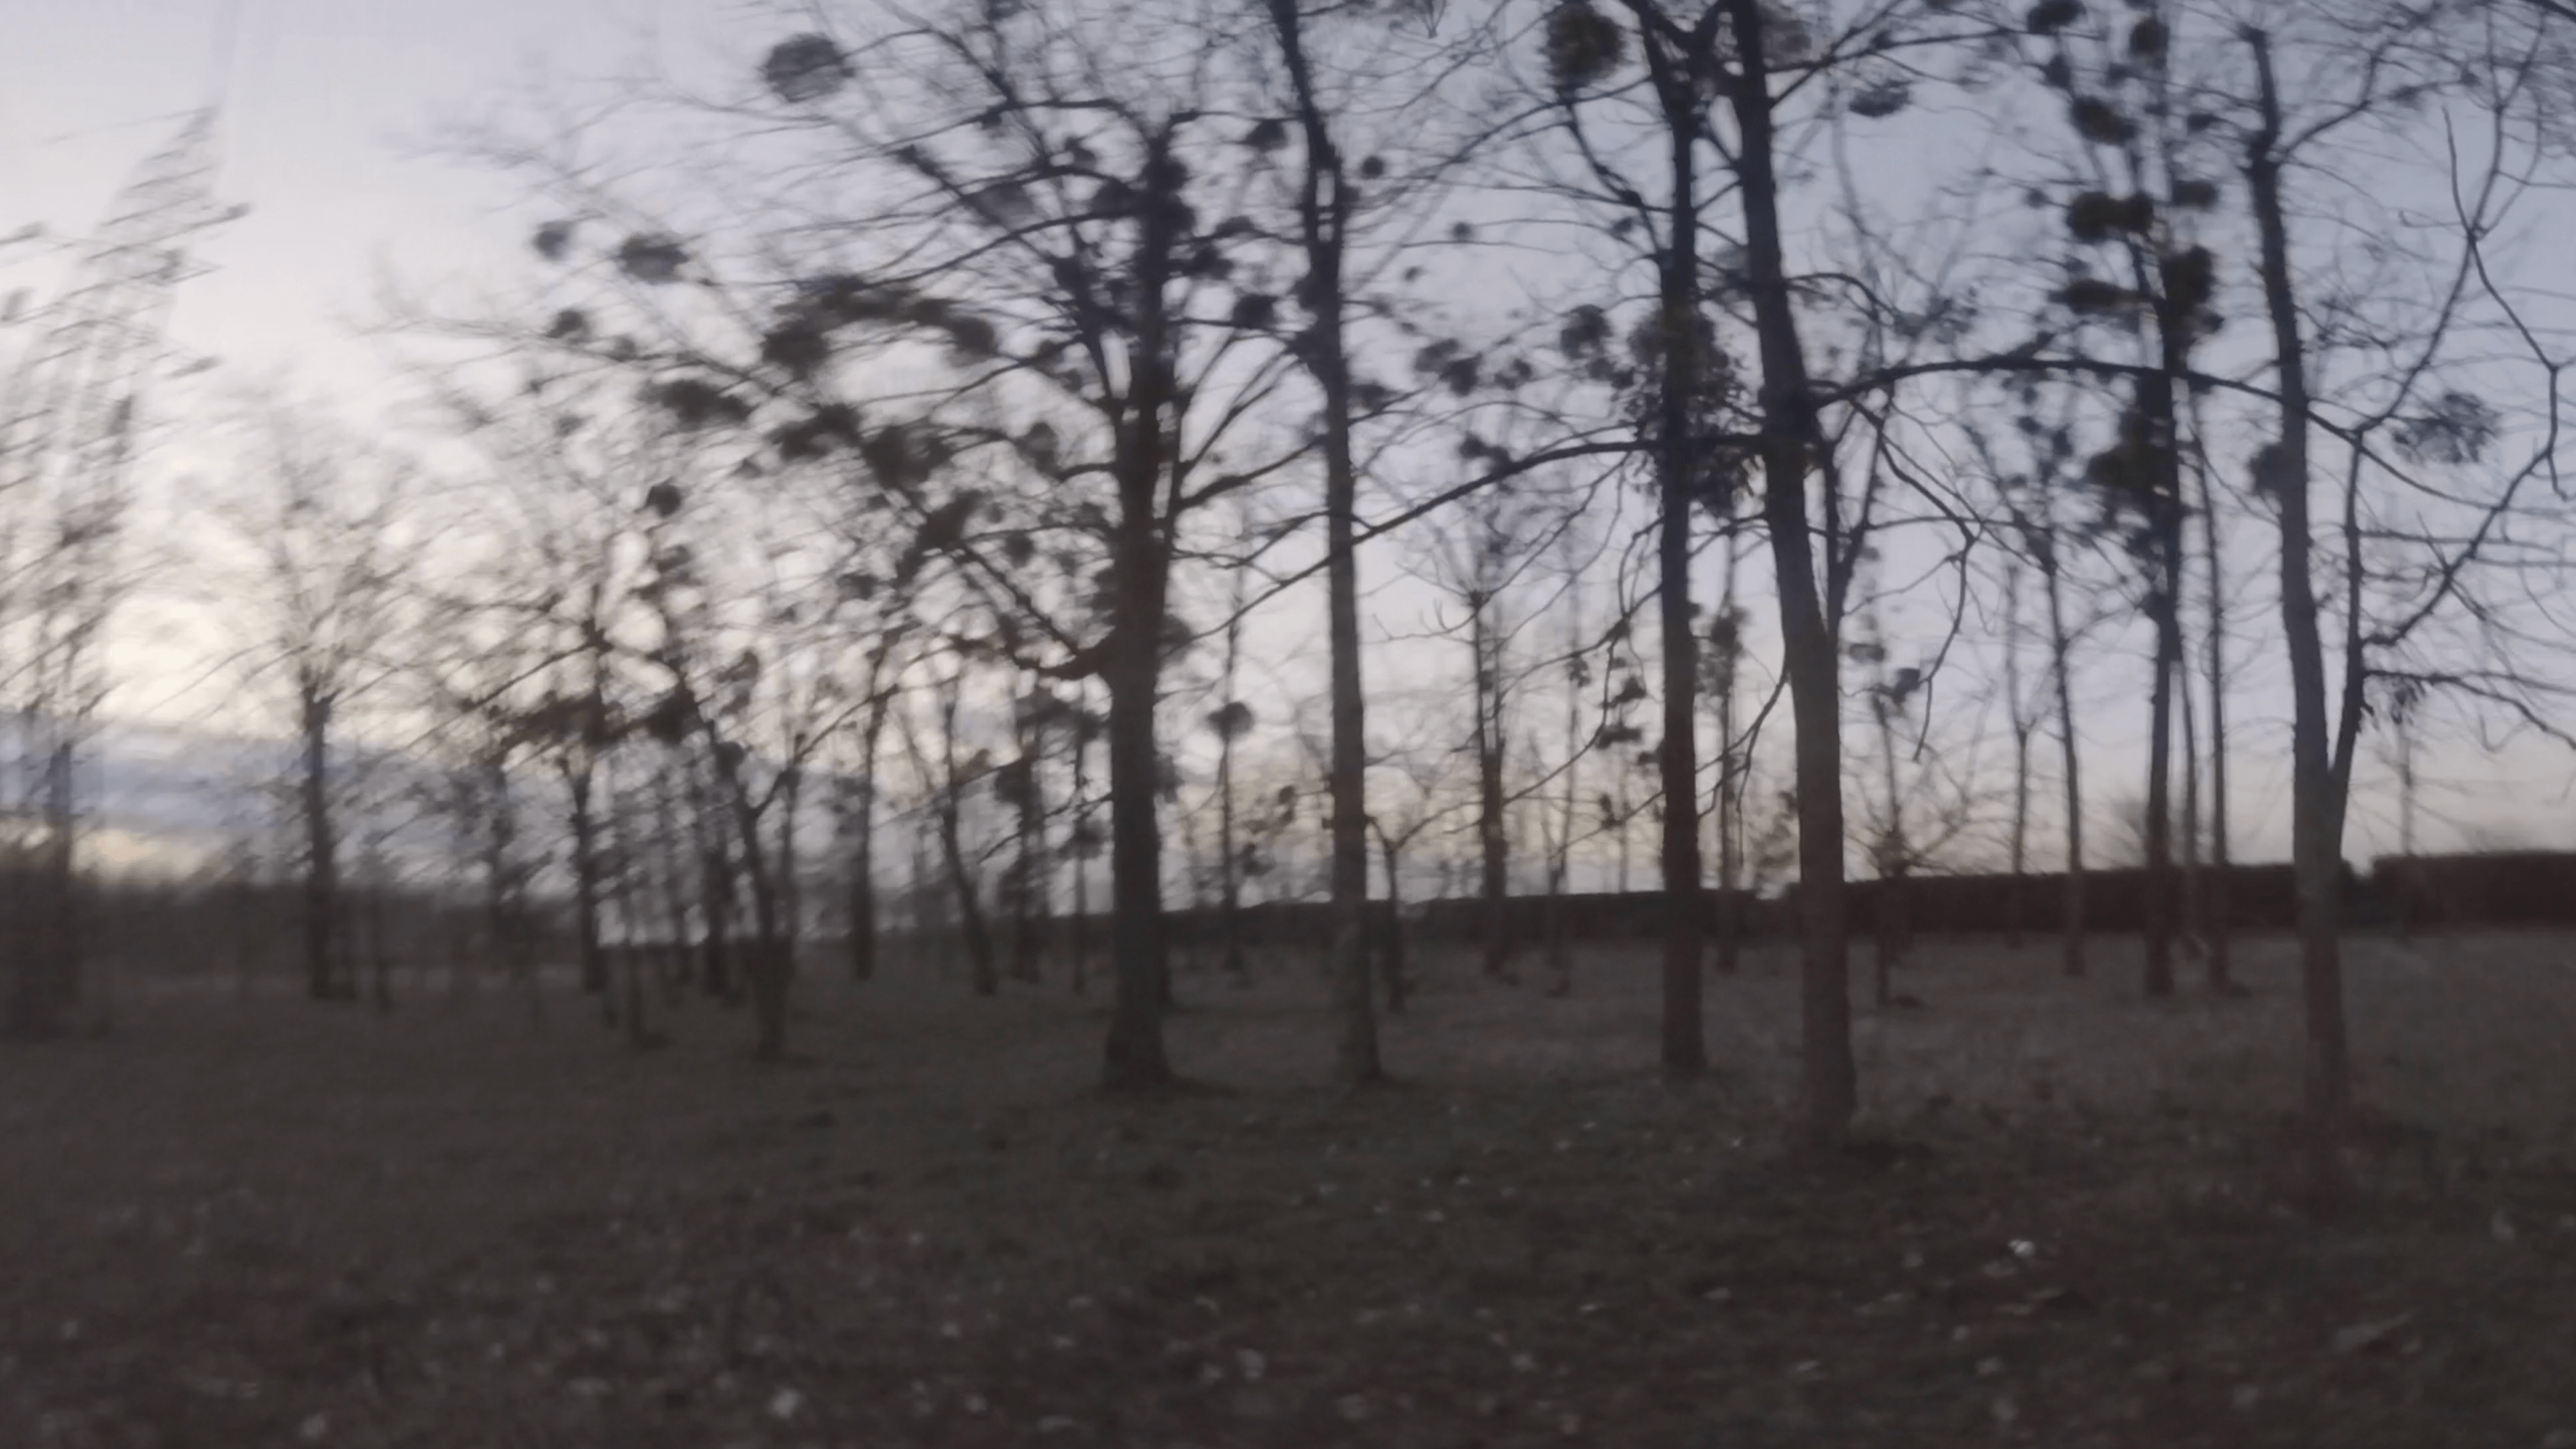
Under exposed
For cinematic slow flying
Resolution
4K – 3840×2160
Frame rate
30 FPS
Aspect ratio
16:9
FOV
SuperView
Shutter speed
1/60
ISO (Lock)
100
For ReelSteady – GoPro Hero 6 (Stabilisation – off)
Resolution
4K – 4096×3072
2.7K – 2704×2028
Frame rate
30 FPS
60 FPS
Aspect ratio
4:3
FOV
Wide
Shutter speed
1/120
ISO (Lock)
100
For freestyle – GoPro Hero 5 Session
Resolution
2.7K – 2704×2028
Frame rate
30 FPS
Aspect ratio
16:9
FOV
SuperView
Shutter speed
1/60
ISO (Lock)
100
COLOR GRADE YOUR FOOTAGE
After you got the footage, making sure it is properly exposed and import it into your video editor of choice, we recommend DaVinci Resolve, Adobe Premiere and Final Cut Pro X. There are a few good mobile options like VivaCut Video Editor but use a desktop application for best results. After you got your sequence of clips sorted out you can start color grading.

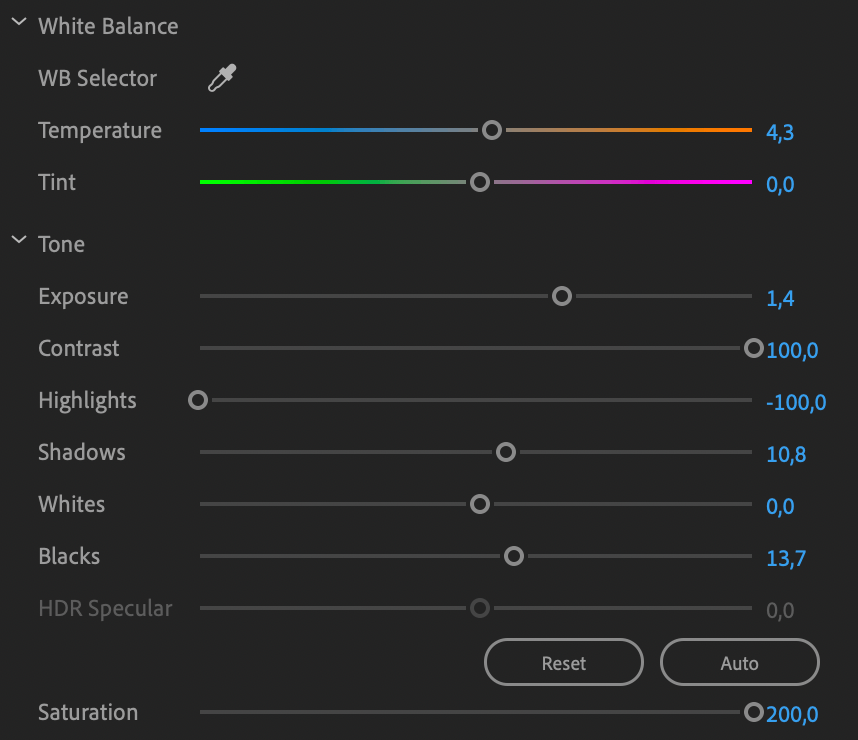
Adobe Premiere comes with Lumetri color, we will break down this shot and get the same color grade in a few simple steps easy to follow and repeatable on other shots.
To get this kind of look you need to adjust just a few parameters, since the ungraded footage is a bit under exposed bump the exposure a bit until you can see more details in the shadows.

Then max out the contrast to 100 to get the super contrasty, cinematic look.

As you can see the light parts of the image got over exposed, to combat this crush the highlights by setting it to 0.

Flat color profiles are not saturated giving you the most color information, to bring it to look pleasant, adjust the saturation to the desired point. This is where you will need to be practical, adjust it to where want it and dial it down 25% because people like to oversaturate the footage, you want it too look nice but realistic. in this particular case since the footage was shot after sundown and is a bit underexposed we need it at 200.

Color grading is something that you will have to experiment a bit, this case that we just graded, to get it to where it is now I tried a few different options. If you have more shots from the same clip use an adjustment layer to copy the grade.
This was just an example, your footage will need a different grade to look good, start by following the same steps just chose different values for every setting depending on your shot and the look you are going for. No shot is the same, there is no cookbook you will just have to experiment a bit to get it looking good. Practice makes perfect after a few graded shots you will ge the hang of it.
A color grade can make or break your footage, after a while you will get the hang of if. Try recreating someone elses grade to get good, and dont forget to have fun!
- iFlight BumbleBee Cinewhoop Review | Hit or Miss - August 20, 2020
- HGLRC Sector 132 Review | Unique 4K Micro Drone - April 28, 2020
- GoPro ND Filters and How to Make Them - April 1, 2020